This screen enables free format notes (or graphics) to be entered against a supplier. Information stored within a notes category can be used as an internal note or can be used in your documentation.
NOTE: It is important to keep the consistency of your formatting within your notes field especially if the fields are going to be used in your documentation.
Prior to entering supplier notes, Supplier Note Categories or Database Supplier note categories must be setup in the Code Setup application (see the System Setup User Manual).
Add Supplier Notes
- If the creditor to which notes are to be added does not exist, create the supplier first (see Creating New Creditors).
- If the supplier does exist, search for and retrieve it, so that creditor details are displayed on the screen (see Retrieve an Existing Creditor).
-
When supplier details are displayed on screen, select
 Menu > Creditors > Details > Notes.
- Click the Creditors menu to expand it:

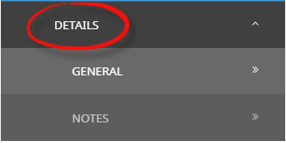
- Click the Details menu to expand it:

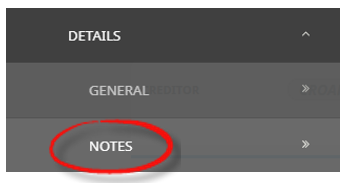
- Click Notes to open the Creditors Notes list:

- Click the Creditors menu to expand it:
-
ClickInsert to add a new entry.

-
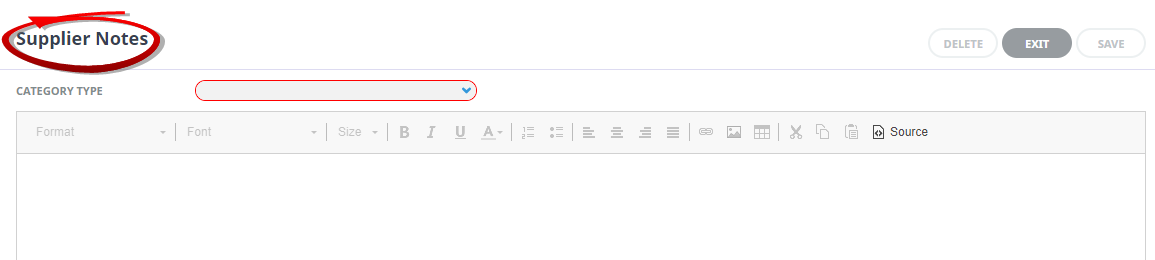
On theSupplier Notes screen, select a Category Type and enter text in the body of the note (the body is a rich text field - as well as formatting, graphics and tables can also be inserted).
- Check the completed screen.
-
ClickSave to keep the changes.

-
ClickExit to discard any changes.


About Supplier Notes Category Types
The more information that can be inserted into the creditor/supplier at the time of creation reduces time in the long run. When you go to send a message to the creditor and you have no contact details entered, the message will not send.
NOTE: Formatting is important when inserting a note for documentation etc.
Available categories for creditors in the Standard Database system are:
| Code | Description | Type |
|---|---|---|
| CAC | Accounting Notes | Creditor |
| CAG | Agreements | Creditor |
| CMV | Creditor Visit / Meeting Notes | Creditor |
| CTC | Client Complaints | Creditor |
| DCP | Child Policy | Product Supplier |
| DEM | External Supplier Mapping | Product Supplier |
| DGN | Product General - Internal | Product Supplier |
| DGO | Geo Coordinates | Product Supplier |
| DI1 | Default Image | Product Supplier |
| DI2 | Additional Image (1) | Product Supplier |
| DI3 | Additional Image (2) | Product Supplier |
| DID | Itinerary (Long) Description | Product Supplier |
| DRD | Directions | Product Supplier |
| DSP | Specials / Extras | Product Supplier |
| DTC | Service Terms and Conditions | Product Supplier |
| DWD | Web (Short) Description | Product Supplier |
| DXP | Cancellation Policy | Product Supplier |
NOTE: In the above table:
Types marked Creditor notes are available for viewing/editing only in Creditors Types marked Product Supplier notes, can viewed/edited in both Product Setup and Creditors A note category that is defined as a Product Supplier Note will attach to all products that are created for the supplier.
If a note category displays that is not applicable to the supplier, leave the note blank.
As described in the procedure above, to enter a note, first highlight the required note category from the Category Type list, then click in the rich text editor section at the bottom of the screen and type a note. An alternative is to copy/paste information from the suppliers website and edit it accordingly.
NOTE: When copying and pasting information from a suppliers website, ensure that the text is first inserted into a word document or notepad document to strip the text into plain text before inserting (copy/paste) the text into Tourplan.
If a note applies to a particular product that the supplier offers; e.g., it applies to a Suite rather than an ROH Room, then it must not be attached here - it must be a Product Note, not a Supplier or Product Supplier note.
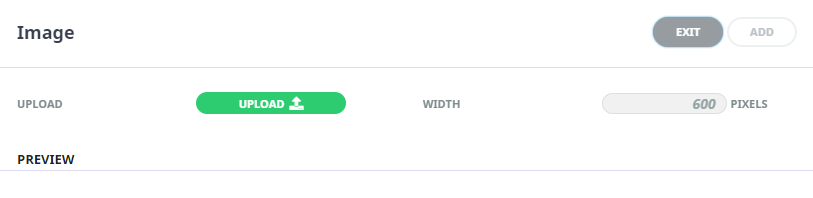
NOTE: If images are used in notes fields, the image size is determined by each user company's procedures.
About Supplier Note Field Formatting
The rich text editor section (or body) of the note is a blank page for the note text to be inserted or edited.
The Editing screen has the following items:

| Format type | Format Option Descriptions |
|---|---|
| Format | Format of the paragraph text. Normal, Headings 1,2,3,4,5, & 6, Formatted, Address, |
| Font | Font of text (will default from the INI Setting DEFAULTFONT) |
| Size | Font Size of text (will default from the INI Setting DEFAULTEDITFONTSIZE) |
| Style, Font and Font Size. The available styles and fonts are the Windows styles and fonts installed on the computer running Tourplan | |
|
|
Bold - highlight the text to be bold faced and click this button |
|
|
Italics - highlight the text to be italic and click this button |
|
|
Underline - highlight the text to underlined and click this button |
|
|
Colour of text – highlight the text to change the colour and click this button |
|
|
Numbered bullet points - click this button to create a numbered list |
|
|
Bullet points - click this button to create a bulleted list |
|
|
Left aligned text - click this button to justify text on the left margin |
|
|
Centre aligned text - click this button to centre text between the left and right margins |
|
|
Right aligned text - click this button to justify text on the right margin |
|
|
Left and Right justified text. Click this button to justify text between the left & right margins |
|
|
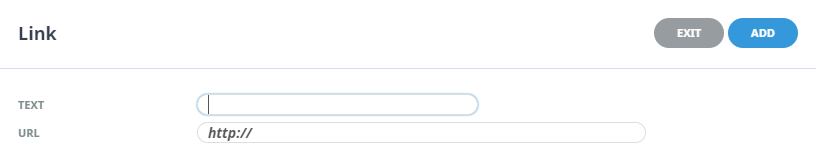
Insert a URL link – click this button to insert the text you want showing as a hyperlink and insert the required URL
|
|
|
Upload an image – click this button to upload an image
|
|
|
Insert a table – click this button to insert a table |
|
|
Cut text (Ctrl+X) highlight text to be cut and click this button |
|
|
Copy text (Ctrl+C) highlight text to be copied and click this button |
|
|
Paste text (Ctrl+V) place the cursor at the point where copied/cut text is to be placed and click this button |
|
|
Selecting this button will show the text editor in CSS styling source code |


Multi Language Note
If the multi language check box is enabled for the defined note category in Code Setup > Notes a language selection will be available to insert language translation text per language.
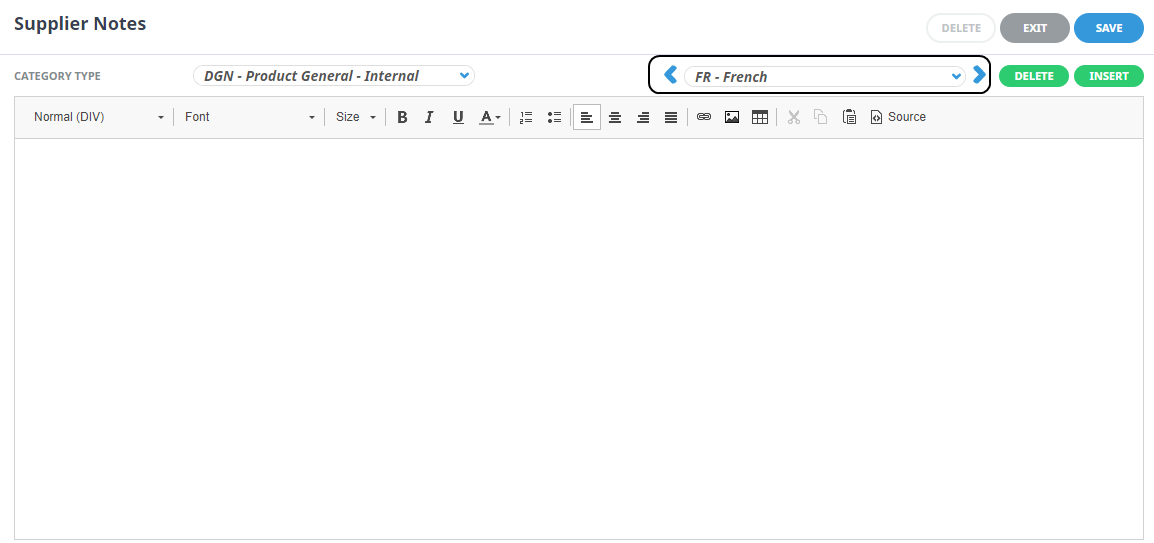
To insert notes for multiple languages, click the insert button next to the language. A Language selection screen will display for users to define the language assigned to the note text.
NOTE: Organisations can insert as many languages as they use .
Viewing alternative language note content
The arrows to the left and right of the language field allow users to view and edit alternative language note entries and a dropdown selection can be used to display a specific language note entry.